项目提交:#39847ba - Gitee.com
基本理解
开发SPA单页面应用,通过更改路径切换不同组件的显示(通过改变 URL 的形式,实现组件的切换和页面的跳转,而不需要重新请求页面)。 当前活动的路由组件会被挂载,不活动的组件会被卸载,并触发相应[[生命周期]]钩子。
安装路由依赖
npm install vue-router编写路由映射
在 src/router/index.ts 下编写映射
import { createRouter,createWebHistory } from "vue-router";

import about from "@/components/about.vue";
import home from "@/components/home.vue";
import news from "@/components/news.vue";

const router = createRouter({
    history:createWebHistory(),//工作模式
    routes:[
        {
            name:'guanyu',
            path:'/about',
            component:about
        },{
            name:'zhuye',
            path:'/home',
            component:home
        },{
            name:'xinwen',
            path:'/news',
            component:news
        }
    ]
})

export default router;
路由工作模式
- history 模式 URL 不带
#,但是上线需要解决路径问题(例如 Nginx 下的try_files $uri $uri/ /index.html;) - hash 模式 URL 带
#,SEO 优化差,多用于后台、内网。
为应用启用路由功能
const app = createApp(App) // 从根组件创建应用
app.use(router) // 使用路由(必须要先启用再挂载)
app.mount('#app') // 挂载到App.vue 的 <div class="app"> 上
实现路由映射的组件
路由组件通常放在 pages,views (视图)文件夹中 仅举一例:
<template>
  <div class="about-us">
    Welcome to the about page
  </div>
</template>

<script setup lang='ts' name="about">
</script>
<style scoped>

</style>
设置导航标签
- 通过
routerlink标签声明导航,to为路由路径 当选中某个标签的时候,会更新其active-class属性,进而可为其定制样式,例如:
.actively {
    color: #007BFF;
}to属性标识点击导航后的路由链接指向(path),to的值可以是一个字符串,也可以是一个声明path属性的对象:to属性为路由规则的name
<RouterLink to="/home" active-class="actively" class="nav-link">首页</RouterLink>
<RouterLink :to="{path:'/about'}" active-class="actively" class="nav-link">关于</RouterLink>
<RouterLink :to="{name:'xinwen'}" active-class="actively" class="nav-link"> 新闻</RouterLink>
命名路由
在路由映射表中声明了每个路由规则的 name
设置展示区域
使用 routerview 标签:
<template>
    <div class="app">
        <h2>Vue Route</h2>
        <div class="nav">
            <RouterLink to="/home" active-class="actively" class="nav-link">首页</RouterLink>
            <RouterLink to="/news" active-class="actively" class="nav-link">新闻</RouterLink>
            <RouterLink to="/about" active-class="actively" class="nav-link">关于</RouterLink>
        </div>
        <div class="content">
            这是一个展示页面
            <RouterView></RouterView>
        </div>
    </div>
</template>
嵌套路由
一个界面可能会有多级导航栏,此时要使用嵌套路由。
子路由声明
比如在新闻组件下新闻标题,应当是 /news 的下一级路由,在路由映射中声明:
{
	name:'xinwen',
	path:'/news',
	component:news,
	children:[
		{
			name:'news-detail',//这里不要再加"/"
			path:'detail',
			component:Detail
		}
	]
}
子路由导航栏渲染
同一级导航栏一样,遍历渲染导航栏,并且指定路由界面的渲染位置
<template>
  <div class="new">
     <!-- 子组件导航区 -->
     <li v-for="news in newsList">
      <RouterLink to="/news/detail">{{ news.title }}</RouterLink>//这里要加"/"
    </li>
  </div>
  <div class="news-content">
        <RouterView></RouterView>
  </div>
</template>
效果如下: 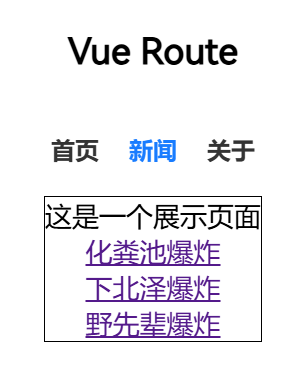
传参
因为路由组件是通过路由器引入的,因此其不会作为标签被显式声明,因此其向子组件的传参要通过路由器实现。
query
传递 key-value 形式参数。
模板字符串写法
<RouterLink to="/news/detail?a=114&b=514">{{ news.title }}</RouterLink>在被路由映射的组件中使用 useRoute 返回一个路由信息对象
let route = useRoute()
console.log('id',route.query.id,'content',route.query.content);//读取参数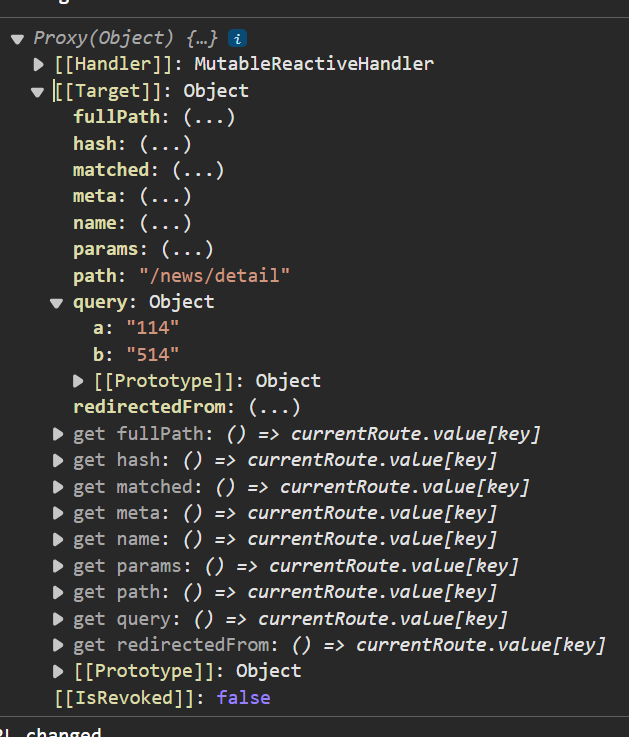 其中可以看到通过
 query 传参的对象。 传入变量 利用 JS 模板字符串语法传入变量:
<RouterLink :to="`/news/detail?id=${news.id}&content=11`"">{{ news.title }}</RouterLink>对象写法
<RouterLink
	:to="{ path: '/news/detail', query: { id: news.id, content: news.title } }">
	{{ news.title }}
</RouterLink>当然,接受参数的时候可以先解构传入的 route,减少插值的时候的层级。
let {query} = route;//错误写法,这个route不是响应式对象
let {query} = toRefs(route)
//插值只需写{{ query.id... }}即可
params
不能传递对象和数组 此时 router 中的 path 应该声明参数占位符:
path:'/news/detail/:id/:content'传参使用:
<RouterLink to="/news/detail/114/?">{{ news.title }}</RouterLink>
//参数为空应使用?占位
<RouterLink
	:to="{ name: 'news-detail', params: { id: news.id, content: news.title } }">
	//这个必须写name(路由规则名),写path会因为不存在该路由路径导致报错
	{{ news.title }}
</RouterLink>
接受参数与上文类似,只不过在 params 对象中。
路由 [[props]]
Params 参数
可以在路由中为当前组件开启props参数,相当于在使用RouterView标签的时候向其中传递参数(props用于子组件向父组件传递数据)。 就是匹配路由时传递的 params 参数。
props:true
//等价于
props(route){
	return route.params
}
接收参数 和父组件向子组件的参数传递一样,使用 defineProps 定义接收的变量,然后直接插值渲染即可。
Props 函数式写法
用 props 接收路由对象,然后把它 return 给路由组件即可。
props(route){
	return route.query
}
Props 对象写法
props:{
	a:100,
	b:100
}
只能传常量,用的很少。
replace 属性
浏览器历史相当于一个栈,如果用 push 就是直接压入栈,如果用 replace 就是将栈顶出栈之后,再将历史记录入栈。
<RouterLink replace to="/home" active-class="actively" class="nav-link">首页</RouterLink>replace 是不能返回的,适用于登陆之后防止误操作返回到登陆页面的场景。
编程式路由导航
不光是导航栏可以实现界面跳转,也可以通过函数调用实现。
const route = useRouter();

interface News{
  id:number,
  title:string,
  content: string,
  time: string
}

function showNew(news:News){
  route.push({
    name:'news-detail',
    query:{
      id:news.id,
      content: news.title
    }
  })
}
重定向
将根路径重定向到一个特定的路由结果上。 只需要在路由规则中添加:
{
	path:'/',
	redirect:'/about'
}